This page may have Commerce Content. If you buy something from our posts, we may get a small share of the sale. Click here for more.

Editor & Article Writer for Outdoor Wilds
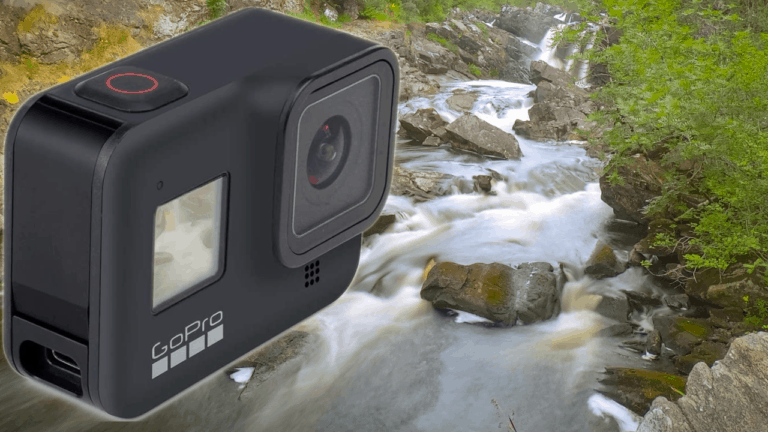
Long Exposure Waterfall Photos Using A Gopro
In this article I share some of my practical tips on how to take long exposure waterfall photos using a GoPro.
There are a number of pieces of equipment that you’re going to need to achieve that silky smooth motion blur effect of the flowing water. Read on to find out what gear you’ll need in addition to your GoPro.
I also share how I edit my GoPro pictures once I’ve captured them to an SD card, plus the all important menu settings for long exposure photos.
Mount The Gopro To A Tripod
The first essential piece of kit you’re going to need is a camera tripod. The reason for this being the camera shutter will be open for around 2 seconds.
Any movement of the GoPro during this period will result in a blurry image. Which is what we’re trying to achieve of course with the constant movement of the water cascading down the waterfall but not the surrounding scenery.
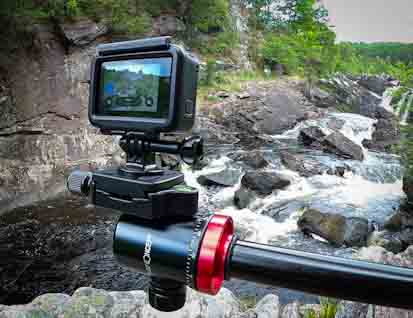
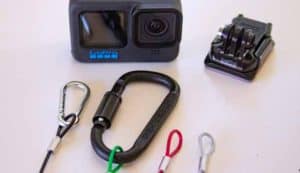
You will need a tripod mount adapter to attach to a ¼-20 tripod stud which is standard for all tripods.
Set the picture timer to 3 seconds to ensure no camera body movement as the shutter opens.
Choice of Tripod
GoPro cameras are very lightweight so it’s not as if you need a huge sturdy tripod that you’d use for supporting a DSLR camera say. Having said that, wind conditions can affect the stability so I suggest a tripod that spreads the tripod legs over a wider area for a more stable base.
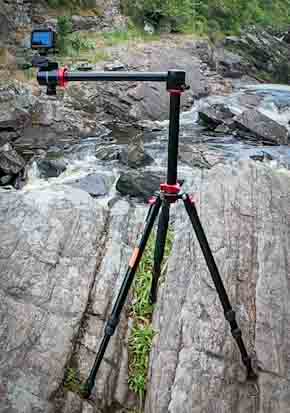
My personal choice of tripod is the K&F Concept 4 section tripod with 360 degree ball head. If you look at the pictures of my setup while photographing the waterfall you’ll see that I have adjusted the tripod legs to provide a sturdy platform on uneven ground.
The K&F tripod also has a horizontal bar which has many uses. In this instance I have used the bar to give me extra reach out across the rocky ground.
Lastly, the weight of the tripod is an important factor. I had to hike several miles to get to this particular waterfall so keeping the weight of kit to a minimum you have to carry can only be a good thing.
Neutral Density Filters
The next bit of kit you’re going to need is a set of neutral density filters to attach to the lens of the GoPro. Without these covering the lens the picture will be overexposed and in most cases be a white image with no detail.
Having the shutter open for 2 seconds means a lot of light hits the camera’s image sensor. The ND filters act like a pair of sunglasses for the camera which dramatically cut the amount of light coming into the camera.
For the waterfall picture example here I used an ND32 filter. Neewer offers a filter kit for some of the older GoPros which is good value. The added feature of the Neewer filters is the ability to stack them.
In really bright sunlight an ND32 filter may not be enough, in which case you can add additional filters, for example, stack the ND32 along with an ND8 filter and experiment from there.
Night Photo Mode
You’ll find Night Photo Mode on GoPro cameras from the Hero 4 onwards. This mode is designed to take photos of the night sky capturing star constellations in the picture. The longest shutter speed is 30 seconds which is great for such a purpose.
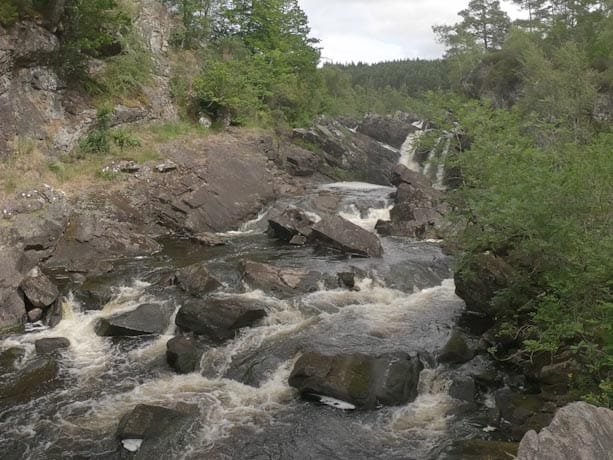
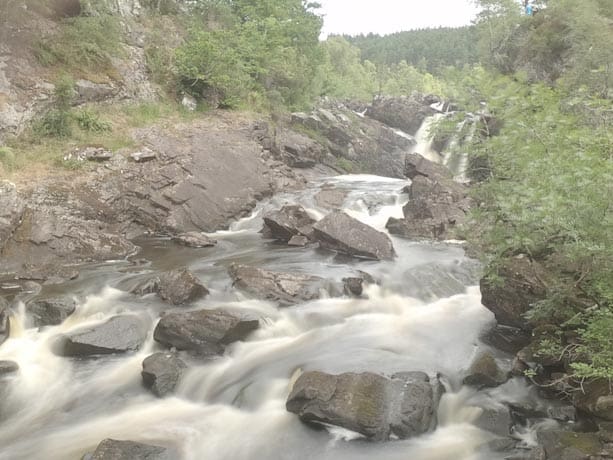
For taking photos of waterfalls the fastest shutter settings is ideal, which is 2 seconds. Set the GoPro shutter to 2 seconds in Night Mode and you’ll achieve the dreamy smooth water effect shown in the right hand picture above.
The picture on the left is an example of the slowest manual shutter speed. As you can see a 1/30 shutter speed is too fast and results in capturing an underexposed still picture with no motion blur of the water.
Settings For Long Exposure Pictures
With Night Mode selected and set to 2 seconds shutter speed there are a few additional settings to consider.
I suggest using Protune Flat color which provides more detail in the shadows and highlights. This makes it possible to edit the picture afterwards using a photo editing software programme, which I’ll get onto shortly.
EV Comp
The other setting that is worth noting is the EV Comp. This feature allows you to either increase / decrease the camera’s auto exposure by small amounts. Depending on how bright the natural light is when taking the photo you may have to drop the EV down by -1.0 or more.
In the picture example shown here I used -1.0 EV Comp to ensure the white highlights of the water were not overexposed.
Photo Editing
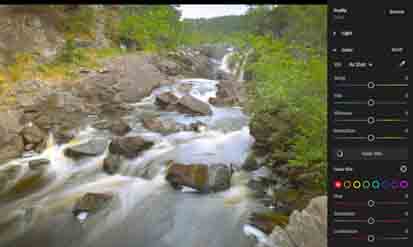
There are many ways in which to edit Gopro photos. I thought I’d share my own personal way of how I edit my photos taken with my GoPro cameras I currently own.
I have used an iPad Pro to edit all my photos for a couple of years now, having previously used both PC and macbook computers. In fact I edit not just photos but also all my video editing is done using an iPad.
As you can see from the screen grab I use the Adobe Lightroom App to edit and process pictures. The app does require ios 13 or later to operate.
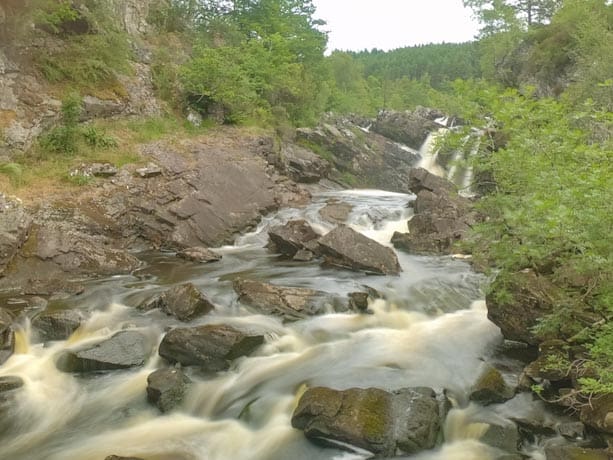
Using the app I have added color contrast to the picture (See Below) , decreased the exposure of the highlights and played around with the shadows exposure until I’m happy with the end result.
I finally adding a small amount of vignette to draw the eye into the picture and perhaps a little dehaze to improve overall picture contrast ratio.
Popular Posts
