
Editor & article writer for Outdoor Wilds
How to Maintain a Trail Camera
In this guide I cover the essential steps on how to maintain a trail camera. These steps mostly apply to pre-season but can also be carried out with trail cams on site throughout the year.
I suggest working through the list from the beginning if you’re looking to start a maintenance program today.
Ok; let’s now take a comprehensive look at all the steps for best practice trail camera maintenance.
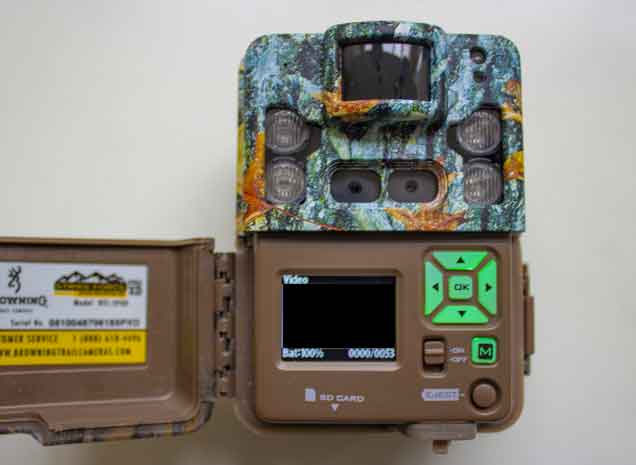
Keep The Firmware Up To Date
The first step is to take a look in the settings of your trail camera to see which firmware is installed. This also applies to new trail cams straight out the box too. Having the latest firmware version ensures the trail cam will operate at its optimum level.
There are many different makes and models of cameras out there, so I’m not going into specific cameras. However they all follow the same basic steps for an update. See the check list below for items you’ll need.
Check List
- SD card reader if your computer doesn’t have one.
- SD card – Reformatted class 8 / 2GB or above.
- Fresh Lithium batteries.
- Computer.
Certain components have different firmware. For example, the chip set controlling the illuminators is different to the controller for the camera’s shutter.
Over time the camera manufacturers make improvements to the firmware that quite often Increase battery life and iron out any bugs.
Check The Manufacturer's Website
Head on over the manufacturers website and look under support or carry out a manual search for the models firmware update details.
This will tell you how to locate the camera’s current firmware version installed. Once you know the version number, check the list on the website to see if it matches the latest version available for download.
If the version is an older version then it’s time to download the latest version. Once this is complete, copy and paste the data onto a clean reformatted SD card.
It’s just a matter of following the guide on their website. In essence it will be a matter of powering up the camera with the card in the camera’s SD card slot.
In most cases, if the update is unsuccessful then it’s mostly down to poor batteries or the SD card. Try again with a different card and fresh batteries. If it fails again then it’s time to contact customer support for that particular trail camera.
Cleaning The Battery Tray and Terminals
With the latest firmware now installed, it’s time to take a look at the battery tray and its terminals.
This step is critical if your camera has been running for a period of time on site or through the course of a season say.
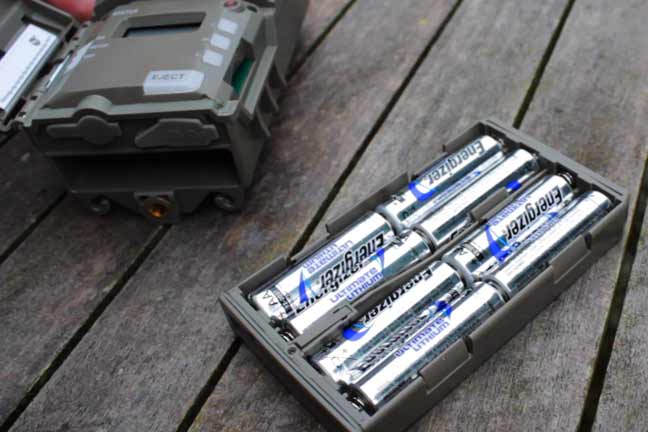
What we’re looking for here is signs of corrosion. There’s 2 types of corrosion, rust colored means there’s water ingestion due to seal issue and battery leakage.
Battery leakage has a powdery green or blue hue to it. I’ll say this now, don’t use alkaline batteries in any trail camera, it’s just not worth it.
Hopefully you won’t have any corrosion. If you do then it’s time to start the cleaning phase.
I’d suggest using the old tried and tested method of a baking soda and water mix or vinegar works well too. Use a small tooth brush and a toothpick to slowly remove any traces of corrosion.
Once you have cleaned off any “gunk”, dry off excess liquid and leave to dry. I tend to put a small amount of either a dielectric grease, a silicone based grease or even petroleum jelly onto the terminals and contacts using a Q-tip as the final stage in the battery tray cleaning process.
Gaskets and Seals
Water ingress is a trail camera’s biggest enemy. Prior to giving the camera a good clean with a damp cloth, check all the seals on the camera housing.
Make sure all seals are properly seated. O-ring gaskets are not fractured or torn with no movement. The C-type flat gaskets on a camera will move and are designed to move with temperature changes so this type of gasket does have tolerances, it’s not fixed in place. C-types should always be visible and not broken or torn.
Lubricate the Seals
Clean The Housing and Shell Of The Camera
Moving onto the outer shell of the camera. After a long season on site, most trail cams will pick up a whole lot of dirt and debris if they haven’t had any on site maintenance during this period.
If you’re someone that buys new cameras in bulk every season and sells them on, it’s worth just spending a short while giving the cameras a good clean to increase resale value.
For this, I use soapy water and a cloth or sponge. I suggest making sure an abrasive debris is removed beforehand. Use an air duster and or a small camera lens brush to make sure the housing is clear of dirt and debris.
Don’t submerge the camera in water. No trail camera will benefit from being submerged. The highest rating trail cams may be IP8 rated, but I personally wouldn’t risk it.
Clean The PIR Sensor, Lens and Flash Unit
These are the most critical parts on the outer housing of a game camera. Pay particular attention to the PIR sensor, that it’s free of any abrasive material.
A scratched PIR sensor can play havoc with the detection zone performance of your cam. Once again, use an air duster for the purpose.
A scratched camera lens is going to affect the picture quality. Take your time cleaning the lens. Apply some Rain-X water repellent glass treatment with a Q-tip to help with fogging.
Storing Your Trail Camera
One of the most overlooked parts is the storage of the camera when not in use.
Avoid storing your trail cameras near other powered devices and magnetic fields.
Best not to store with batteries and SD cards in place.This is best practice in my view.
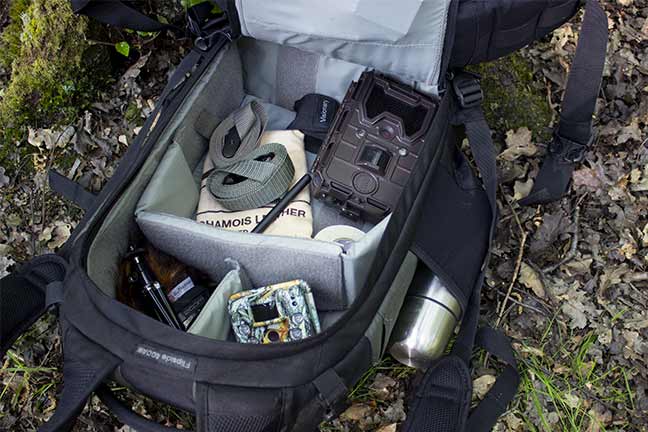
The SD card socket is spring loaded, so it’s important not to have a card left inside to extend the life of the spring. Try and use 2 SD cards per camera. Use the same SD cards in the same camera as much as possible. Number SD cards and the corresponding cameras.
The ideal temperature for storage is between 55 to 70 degrees fahrenheit.. Ensure that zero moisture is present by using a ziplock bag, or a silicone pack.
Storing SD Cards
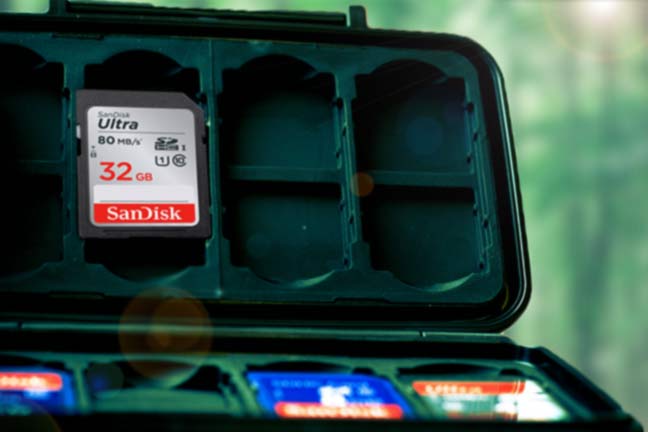
A couple of options here with SD card storage. I personally use a waterproof SD card case dedicated for the job.
Alternatively you can store the cards in a ziplock bag with their corresponding numbered trail cam.
Replacing a Camera Strap
With the camera stored away ready for the upcoming season. Check over the camera strap. If the strap has a metal buckle as in the type supplied by Browning, give the buckle a once over and apply some grease to the moving parts.
If the strap has seen better days then it may be worth looking to replace the strap. I know some are starting to use paracord as an alternative to a strap as this makes the camera less conspicuous on public land. Paracord works well too, so that may be worth considering.
Ant Infestation
One important consideration is in regards to ant infestation. Ants can play havoc with the printed circuit boards of a trail camera if they get inside. Read my post on how to stop ant infestation inside trail cameras.
Final Thoughts
The bottom line is, if the camera is still functioning well at the end of a season then there’s no reason why it won’t perform well in future seasons.
These basic steps only take a short while to carry out and may be the difference in the trail cam stopping to work mid season or carrying on for many more years to come.
Popular Posts


