This page may have Commerce Content. If you buy something from our posts, we may get a small share of the sale. Click here for more.

Editor & Article Writer for Outdoor Wilds
Share via:
How to break in hiking boots the correct way
Hiking boots are arguably the most important piece of hiking gear to get right. Sore feet are no fun as all of us have experienced at some point in our hiking life. In this article I take a look at how to break in hiking boots, plus a number of important factors alongside.
To avoid many of the common problems associated with sore feet such as blisters, tendon pain and general foot fatigue it’s important to first off, choose a pair of hiking boots that fit properly and then to break the boots in correctly.
How should hiking boots fit?
I’m going to touch upon this stage of the hiking boot experience. The boot needs to fit correctly straight off the bat otherwise, it doesn’t matter how well you break the boots in they’re always going to cause foot problems.
If you’re unsure, head to an outdoor shop that has experts in fitting hiking boots. The key is to make sure the boots are the correct size. Sounds obvious I know.
One foot is always larger than the other, the boot has to match the largest foot, it’s better to have a slightly bigger boot on the smaller foot than the other way round.
A well fitting hiking boot will have a snug fit without being too tight and plenty of room to wiggle your toes inside the toe box of the boot.
Always keep the receipt for the boots, if once you get home and start to feel pinch points when wearing indoors, it’s maybe time to take the boots back and try another pair.
How long should it take to break in hiking boots?
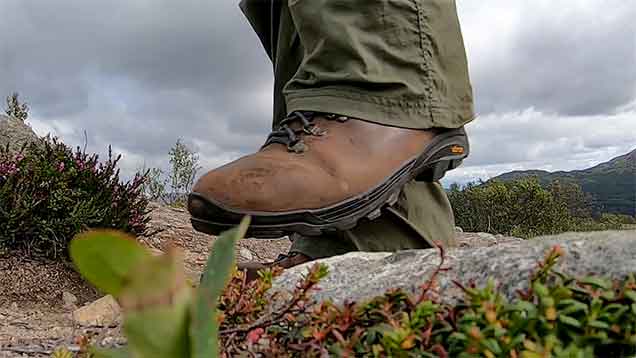
Generally speaking I’d suggest at least buying the boots a month before your first serious hike. This will allow time to break the boots in properly. There are no shortcuts I’m afraid, and don’t listen to soaking the boots in water to soften them.
Breaking in Leather Boots vs Fabric Boots
My personal choice when it comes to hiking boots is leather uppers. They work for me as I tend to do most of my hiking in spring and autumn.
Leather boots will take longer than fabric boots, so take that into consideration. You may need to spend an extra week, covering short distances less than 3km on flat ground to ensure the boot is properly broken in.
How to break in hiking boots at home?
The first stage in the process is to wear the boots indoors, doing the daily chores around the house. It may seem odd, washing the dishes and general household activity in a pair of hiking boots, but it’s an essential part in breaking them in properly.
Breaking the boots in at home also means that they won’t get damaged , so you can take them back if you start to notice any pinching or soreness.
Boot lacing techniques
It’s worth pointing out that you should have the boot laced in the correct manner. As you place your foot in the boot, place your heel on the floor to ensure it sits inside the heel cup properly.
The laces along the top of the foot should be pulled just tight enough so you can’t put your finger underneath the laces, and lastly the tongue of the boot should be carefully positioned so it sits centrally inside the tongue folds.
Wear them with your hiking socks
While you’re breaking the boots in, you must wear the correct socks. The socks that you intend to hike in.
Merino wool mix
I suggest wearing a Merino wool mix outer sock for hiking. In the summer months it’s best to have a mix of Merino wool and nylon, around a 50 – 50 mix.
Polypropylene sock liner
This is very much a personal choice as I know some people hate wearing liners. A thin poly sock liner underneath the Merino wool mix sock allows sweat to wick away from your skin.
Sock choice is very much down to the individual. Trial and error here is the only way to find out what works for you. Just make sure the boot is a snug fit and not too tight with your chosen sock type.
Flex the midsole
The midsole of the boot is the part that needs the most stretching. It’s the hidden part sandwiched between the sole and the upper. This part of the boot does the most work.
After spending a number of days walking around the house, and there are no issues with the boot, it’s time to take a few short walks. I’d suggest walking a couple of kilometres on the flat first and building up to 3km walks over a period of a few weeks.
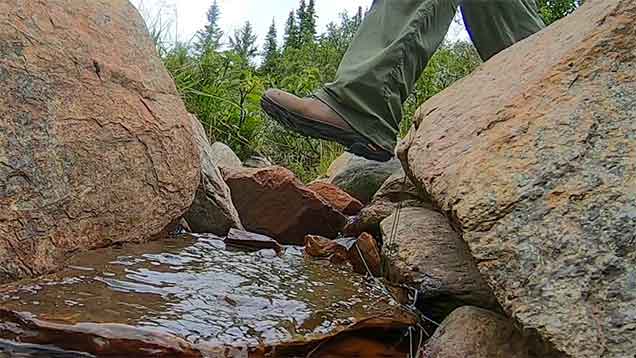
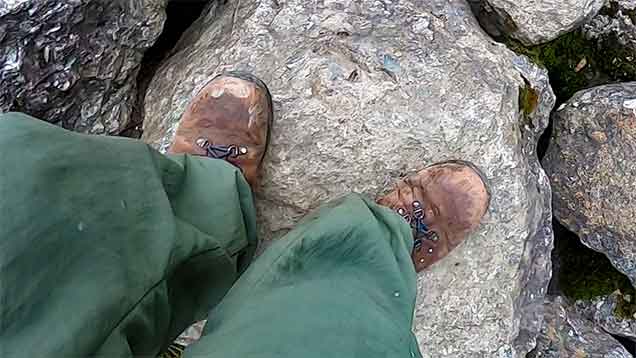
You should have covered at least 20km by now outdoors along flat terrain. It’s now time to take the boot on its first short hike along uneven ground to test its flexibility when walking on tree roots, rocks and so on.
If your feet are in good shape after this stage, then I’d suggest it’s good to go on a serious day hike of, say 20km plus.
Related Hiking posts
Identify any discomfort along the way
If you do notice any discomfort while breaking in the boot it may be down to the lacing. Adjust the laces at the top of the foot if you’re feeling pressure in that area.
Tighten the boot around the ankle support using the eyelets if your tendons at the back of the leg start to ache, and so on. Listen to your feet and adjust accordingly.
Moisture
Movement and moisture are the 2 biggest factors when getting blisters. Hopefully you won’t be getting movement in the boot as they were fitted correctly at the start. Moisture is unavoidable.
To deal with excess moisture, stop for a moment during the hike and open the top of the boot to let fresh air inside the boot. You’ll be amazed at how much this lessens the chance of blisters. Also it may be worth taking fresh pairs of socks if they become too damp.
Final thoughts
It’s not an exact science when it comes to breaking in boots, however if you follow these general guidelines in this article then you won’t go too far wrong.
The key is to take your time. There are no quick ways to break a boot in.
Put the kilometres in
Put the kilometres in progressively over a month period and address any problems with lacing techniques and sock choice.
If in doubt head back to the outdoor store and have a chat with the experts to see what solutions are possible, maybe it’s time to look at another boot brand or have the boots stretched professionally.
I hope you found this article useful and it helps you to enjoy your next hike on this beautiful planet of ours.
Hiking Posts


