
Editor & Article Writer for Outdoor Wilds
How to check trail cameras
This guide on how to check trail cams and what gear to take with you is not a definitive guide. I’m just sharing with you some of the things I’ve learned over the years, so it may be useful for people starting out with trail cameras.
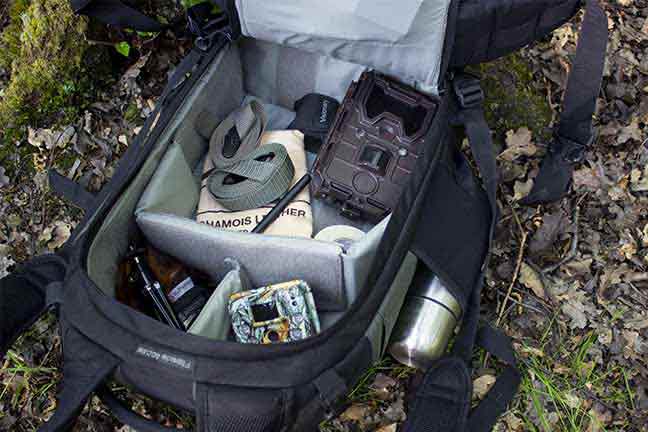
As you can see from the picture above my old Lowepro backpack has been going for years and is still in good shape. I had to repair one of the elasticated outside side pockets once, but overall it’s still doing the job.
The great thing about a camera backpack is that you can arrange the velcro dividers as to how you want them laid out. So I’d suggest a backpack that allows you to keep your cameras safe, especially the lens and PIR sensors.
A camera bag or backpack makes it quick and easy to locate all your tools and accessories when required. Plus it keeps the cameras in a secure way, rather than just throwing them into a general day sack.Now, I’ve got the means of carrying your trail cameras to a scouting location, lets take a look at some tips on what to carry and a few pointers on how to set up a trail camera.
Table of Contents - Fast Navigation
Trail camera check tips and guide
Folding hand saw
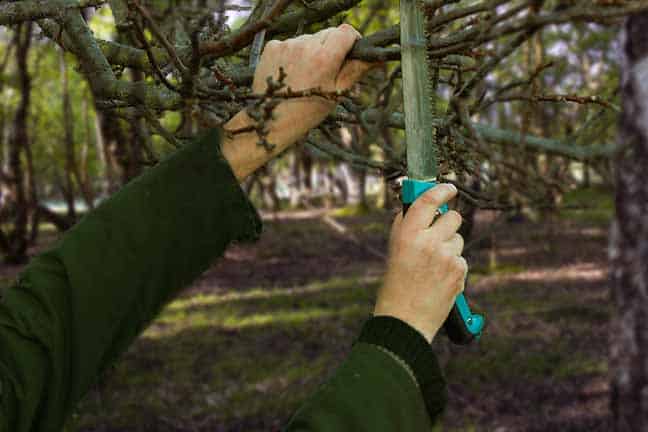
When you return to check on your trail camera and find that the area is a cold spot for activity, then your probably going to want to move the camera to a new location or bedding areas. Carrying a folding hand saw is useful for the reasons we’ll look at now.
Occasionally you find the perfect spot to place your trail camera and there’s some foliage obscuring the view of the camera lens. A folding hand saw is ideal for the job of clearing away branches that you may consider to be a problem to the PIR sensor.
Hot weather conditions tend to make the situation worse as the PIR sensor has difficulty separating different heat sources.
The obvious thing to do is responsible cut away some of the offending branches. I don’t want to get into sensible forestry management here, but always first consider the branches before cutting and how it will affect the tree or foliage.
I’m not expert on folding hand saws but I’ve had a Bahco Laplander in my trail camera field kit for a while and it does the job very well. It’s a very compact saw at only 9 inches in length when folded and weighs around 7 ounces (192 grams).
The Bahco has what they call “XT toothing” which has been developed to be not only very sharp but ideal for cutting small to medium diametre wood very quickly, while keeping its teeth cutting edge for prolonged use.
There’s lots of websites reviewing best hand saws that will provide you with an in depth guide as to what to look for in a folding hand saw and they’re readily available on many online retail outlets at no great investment.
Multi tool
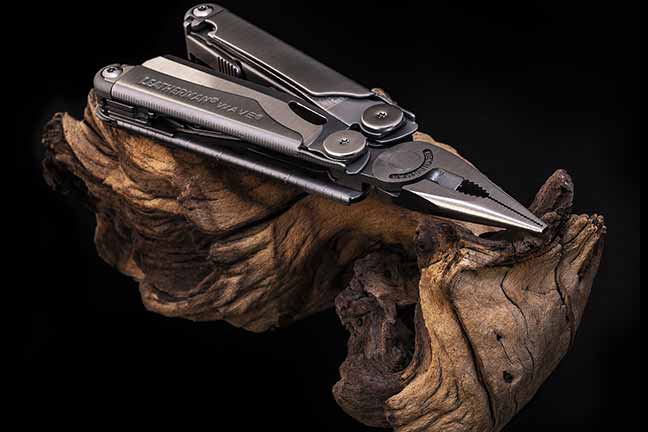
I’ve carried a multi tool in my line of work for many years. They are an essential piece of kit to carry around in my view when going to check cameras. The few times I’ve forgotten to take it with me you can guarantee that I’ve been in a situation where I’ve needed a small knife or a pair of pliers to hand. Especially when checking trail cameras.
They’re a relatively inexpensive item to invest in and should last you many years. I now have one that lives in my trail camera backpack permanently and a second I carry around on my person day to day.
Leatherman multi tools are my choice here. They come with a 25 year warranty from most retailers and are built to a very high standard to back that up.
There are of course many top quality brands out the in the multi tool market so it does really come down to personal choice, although Gerber are another favorite brand of mine.
My main suggestion when choosing a multi tool is to have one with a small phillips screwdriver head. I’ve had earlier trail cam screws come loose on the housing, and being able to nip up the offending screw in the field has been helpful.
The most used part of any multi tool is the knife blade. Make sure the multi tool allows easy access to the knife blade, is made from quality stainless steel and can be replaced after prolonged use.
Memory card holder
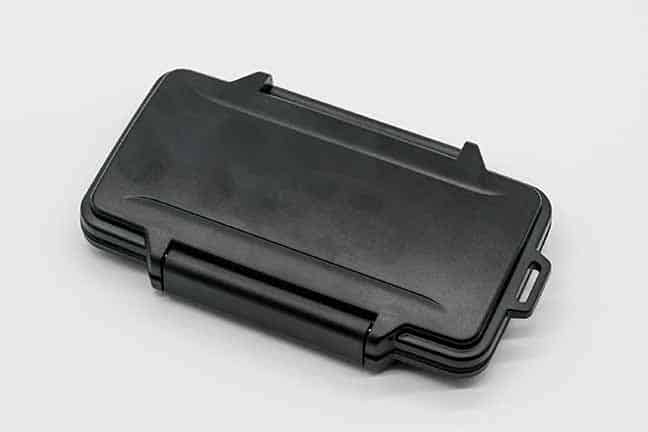
My backpack of choice does have 4 small velcro pouches to store SD memory cards, however I do carry a lot of SD cards so I always carry the extra cards in a waterproof memory card holder designed specifically for that purpose.
Unfortunately I have been lazy in the past and have carried them in my pocket or wallet from then to suddenly cease to work. That is not a very pleasant feeling losing a card full of valuable pictures and videos.
SD cards are fragile and can be easily damaged or lost, so I would always advise carrying your SD cards in one of the many that are available on Amazon and other similar online stores.
What class SD card for trail cameras?
A brief mention of Sd cards. As mentioned always carry them in a suitable memory card case. My strong recommendation is to pay that bit extra for a quality known brand such as Sandisk.
The other important feature to consider is the class rating. It’s just not worth trying to save money here. Always go for at least class 8, especially if your trail camera is going to record video in full HD 1080p.
Trail camera batteries
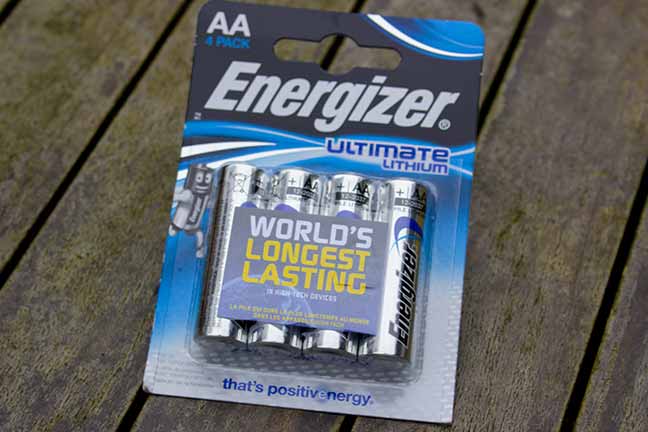
A pretty obvious one here, but one that should always be on your checklist when heading out to check cameras. It’s too easy to forget to take spare batteries. I always recommend Energizer Ultimate Lithium.
In my view it’s not worth trying to save money on batteries, the Lithium batteries by Energizer last for ever and provide consistent power output. Read here for a more detailed overview on trail camera batteries.
How to clean a trail camera lens
The one area that you’ll want to keep clean is the trail cam lens. A microfiber cleaning cloth is only part of the lens cleaning kit that I use.
The first stage is to loosen any dust, bugs or general dirt. You should avoid wiping the lens straight away as this may scratch the lens with the unwanted dirt residue.
A simple lens blower will do the trick in removing any unwanted dirt. I use the Giottos Rocket air blaster for this purpose.
After the first stage of blowing the excess dirt away. I move onto stage 2 of using lens cleaning wipes, or you may use lens cleaning fluid.
Microfiber lens cloth
Lastly I use a microfiber lens cloth to wipe away any smears. Then your good to go!
How to aim a trail camera

Compass
Knowing where the sun rises in relation to the direction your trail cam is going to face when setting up is vitally important.
Always try and aim your trail camera north. This will avoid the sun moving across the camera lens, causing false triggers. I have written a post that goes into more detail on how to set a trail camera up here.
It’s not essential to carry a compass as you can use a mobile phone app to get a rough bearing in most circumstances. But a traditional analogue compass provides an accurate backup when setting up near a trail head or bedding areas.
How to find a lost trail camera
Handheld GPS
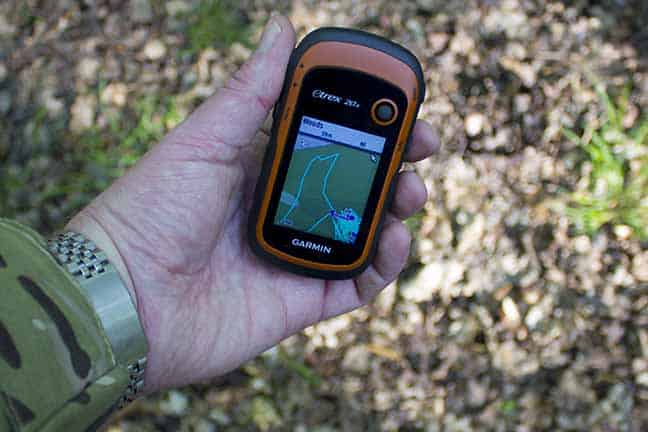
If your heading out into unknown territory then a handheld GPS is essential. Again you can use a mobile phone app that will serve you well, but they don’t provide the accuracy of a dedicated gps device.
Not only will a handheld gps navigate you back to your car but you can store waypoints as to the exact location of where you’ve set up your trail cam. This helps in finding lost trail cameras.
This feature is invaluable. The number of times I’ve set a trail cam up and thought I knew where I’d left it by making visual notes of various trees and landmarks. To then go back a week later and be totally disoriented. In these cases I’ve had my Garmin eTrex 20 to direct me to the exact location of each trail cam.
Mobile portable power bank
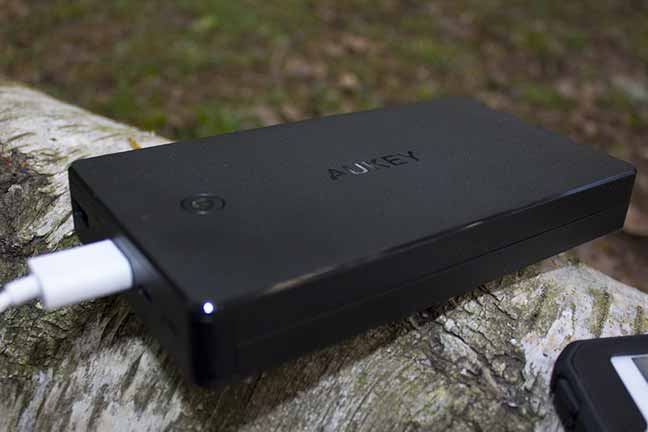
Like the handheld gps, if your heading out into the wilds to check a trail cam then it’s always advisable to carry a portable phone charger.
I’ve replaced the battery on my old iphone 6 plus with a new OEM version, however it won’t last a day of general use.
Having a portable power bank stored in your rucksack will keep your phone up and running for several days. My personal choice are power banks with at least 20,000mAH that way I’m sure I’ve got enough juice to keep my phone operable.
Other items to carry when checking trail cams
This is no means supposed to be the definitive list of items to take with you when heading out to set up your trail cam. These are just some of the bits of kit that I always take with me along with other items.
Below are some of the other items that may be essential for trail camera setup.
- Bungee cords, useful if the tree is too big for the camera strap
- Notebook and sharpies, make notes of general surroundings
- Rubber boots and gloves for scent control
- Digital multimeter for checking batteries and terminals
Summary
This isn’t a guide for surviving in the wilds as you need far more kit to do so. It’s just my personal list of items that I take with me.
Everyone I’m sure has a unique list of items that they take with them. I’d be interested to hear in the comments below, what bits of kit you take that I may have overlooked.
I hope you’ve found this post gives you “food for thought” and good luck out there and happy hunting!
Useful links

